

DIY EL84 Project, Part 4: Chassis, Board and Transformers. Integration and Wiring
By Steve Graham
**NOTE to Builders: Some of the attachments in Part 1, 2, and 3 have been revised. See below.
Our project will really start to take shape in this installment. Once the transformers, choke, circuit board and other parts are assembled to the chassis, the checkered flag is in sight.
But first, some corrections/updates for attachments to previous parts of the project. As you will read in the corrected attachments, the Heavy power transformer chosen by our patron (I encouraged him to choose it) and the stock value of biasing resistor, run the output tubes a bit too hard. Alternate resistors have been added to the parts list to nudge the EL84’s a little closer to their comfort zone. I also make mention of this in the update to the circuit board assembly.
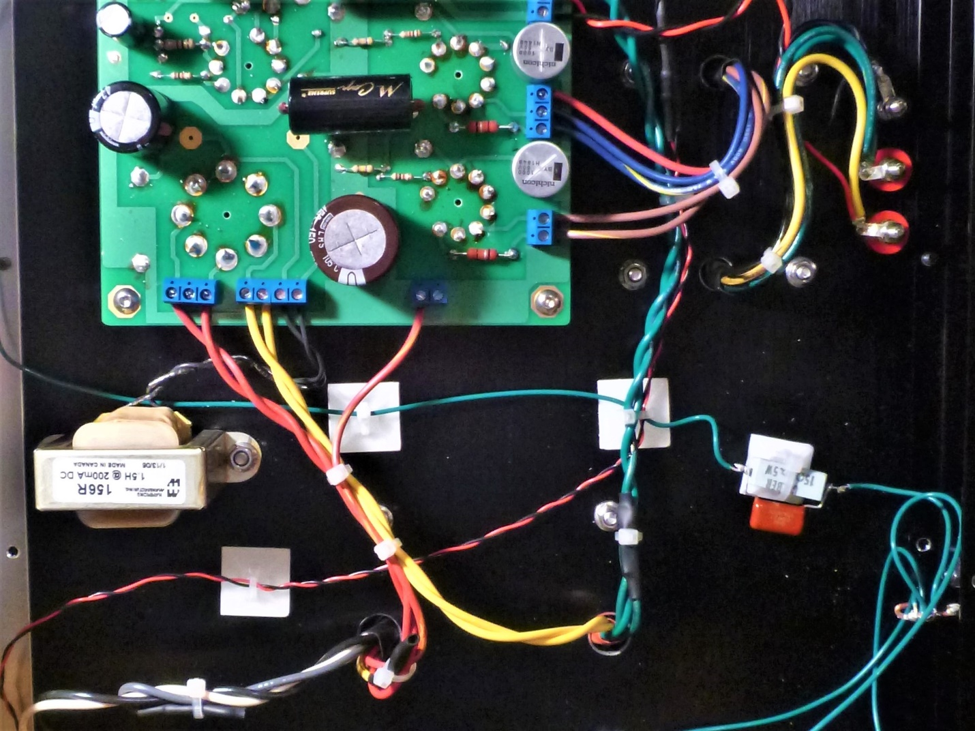
Our patron also chose to go with Mundorf Supreme coupling capacitors. Though slightly over-large, these can be accommodated with a bit of creative wire bending. If the Mundorf route doesn’t appeal, but an upgrade over the base cap does, I’ve listed alternate caps that only cost about a $1.25 each (5 bucks for four) above the cost of the standard cap.
Also, the parts lists were changed in that most of the ¼ watt resistors have been changed to ½ watt rated units.
An alternate grounding scheme that requires an added resistor and capacitor has been added to the parts list, too.
Revisions to Previous Attachments:
Part 1, Attachment 1 (See part 1 in the series for the revision)
Part 1, Attachment 2 (See part 1 in the series for the revision)
Part 2, Attachment 3 (See part 2 in the series for the revision)
Part 2, Attachment 4 (See part 2 in the series for the revision)
Part 3, Attachment 2 (See part 3 in the series for the revision)
The following attachments are quite meaty. So, as the Brits say, “Let’s get stuck in.”
Perform the tasks for Part 4 in the attachments below:
Attachment 1: Top Plate Assembly
Attachment 2: Wiring, Part 1
Attachment 3: Wiring, Part 2
Next time, in Part 5, we’ll apply A/C to the amp for the first time.
Go to your nearest auto supply store and purchse rubber or silicone grommets to fit the transformer wire holes.
john